At Riptide Prints, we're fortunate to work alongside some of the best photographers from around the world. It's important to us to work closely with these photographers to consistently optimize the way we distribute, market, and sell their images globally. One question that we often get asked my photographers is “how do I easily create high-quality mockups of my images?”.
Well, lucky for you, we've found the answer to this question and want to share a process that is going to save you tons of time and will help sell more prints!
In this article below, we’ll teach you more about how hi-quality print mockups can help sell more prints and how we create them in just a couple of clicks.
What you’ll learn:
- How mockups help sell prints
- The traditional way of creating mockups
- A new, time-saving process with Smartmockups
- How to create a frame mockup in Smartmockups
- How to try Smartmockups for free
Mockups and how they help in selling prints
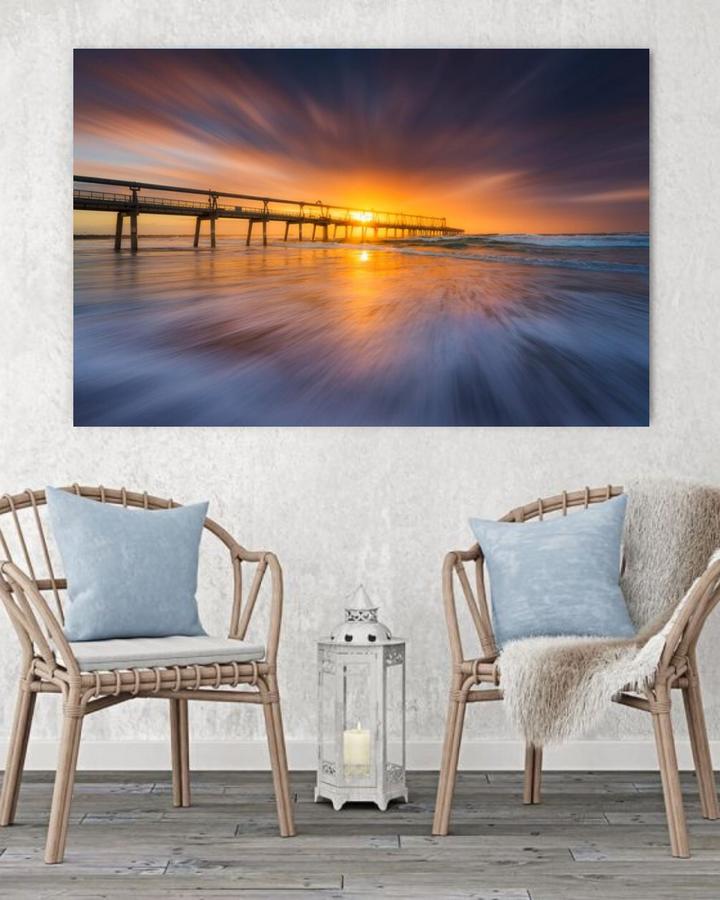
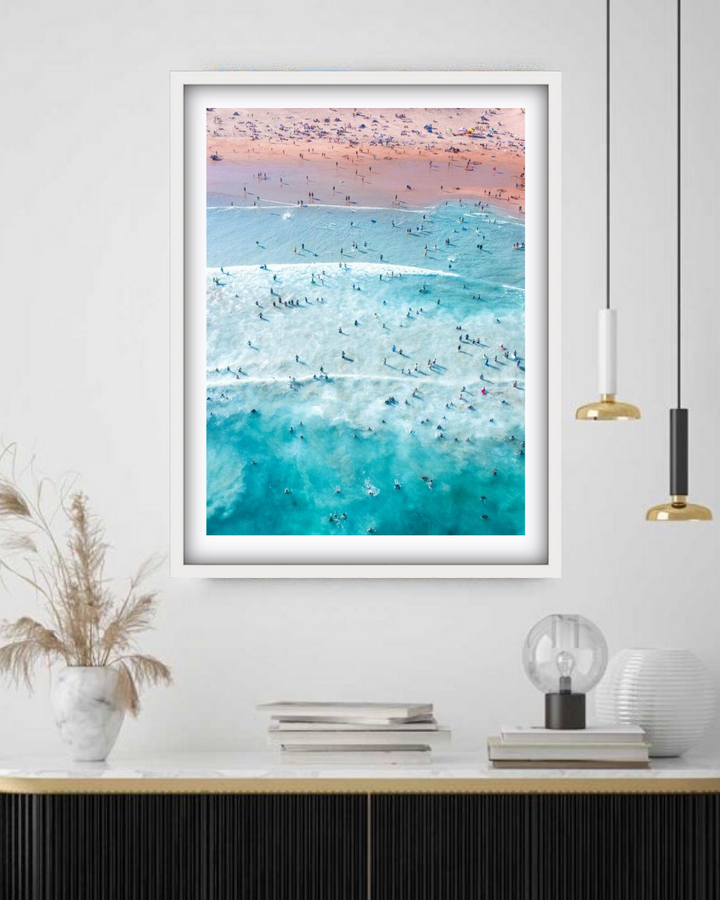
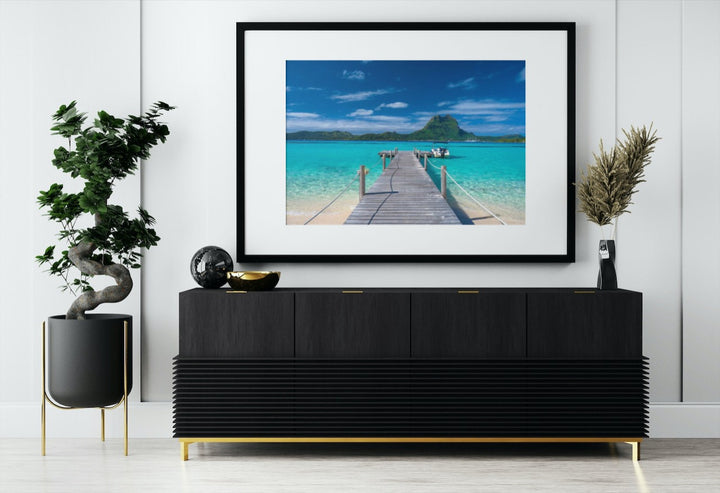
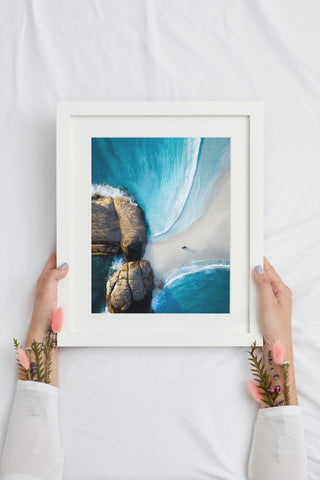
Mockups allow you to present a print in a home setting without having to shoot content and are the simplest way to showcase your photographs in the most realistic environment possible. This helps clients better visualize what a specific photograph can look like in real life.
“At Riptide Prints, we believe that if a client can visualise a print on their wall or in their living space, they will be able to make more informed decisions that greatly assist their purchasing decision.”
Mockups have the ability to show the product in a vast variety of formats and localities without the need to produce such marketing images using real-life prints and settings.
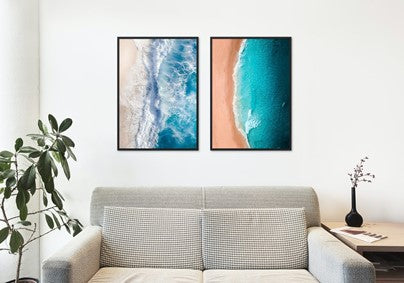
Since using mockups at Riptide, our print sales and customer satisfaction have been upgraded to a completely new level. Our customers no longer need to imagine what the print would look like in a cozy seating area or living room - they can instead check the variety of mockups within each product to visualize the print in their own home.
We also noticed sales increased for the images that had mockups available and received amazing feedback from buyers stating how important a real-life visual was to help them choose a print they loved.
The traditional way of creating mockups
There are a couple of ways that mockups can be created. Traditionally, we would:
- Search a variety of online marketplaces to purchase a mockup template
- Import the mockup templates into graphic design software like Photoshop
- Manually position photographs onto the frames within the mockup background
This way of creating mockups works well when creating a small amount of marketing images and for those that have, and know how to use, graphic design software. However as you can imagine, this whole process is extremely manually and time-consuming especially when you have 10+ mockups images to create.
Luckily, we were recently introduced to Smartmockups. Smartmockups have completely changed the game and now allows us to create print hi-quality mockups in just a couple of clicks.
Save time with Smartmockups
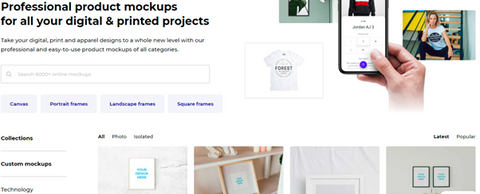
Smartmockups is a free product mockup generator that offers the possibility to create realistic product mockups without the need for design software. What we love most about Smartmockups:
- You can upload an image into pre-made mockup templates
- The ability to customize each scene as you please
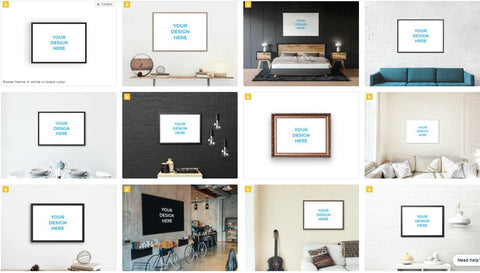
- They have more than 6000+ mockup options with new templates added to the library every week
- There are almost 300 styles of print frames to choose from in a range of formats, specs and settings
The best part is that all mockups from Smartmockups are royalty-free for use in personal and commercial projects, which means you can use them when setting up an online print shop or for marketing promotions on social media.
A step-by-step guide on how to create a frame mockup in Smartmockups
Creating a mockup in Smartmockups is a super easy process that takes only a couple of seconds, which we've summarised via the screenshots below:
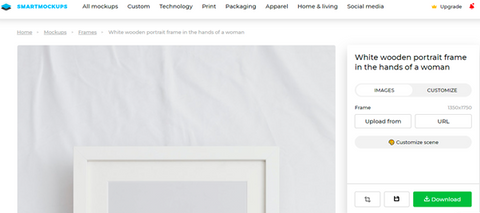
Step 1: Choose your mockup
Go to the Frames mockups category in Smartmockups and choose the mockup you want to use. To make the search easier, use the filters and tags to find what you're looking for.
Step 2: Upload an image
Click the Upload from button in the side panel to upload your photograph. You can upload images in . JPG,. PNG or .PDF.
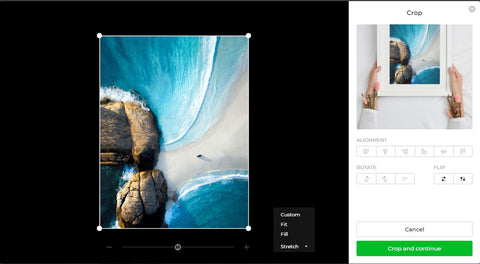
Step 3: Customize your mockup
Click the customize tab to further customize your frame mockup. Available options depend on what mockup you are going to create.
Photo mockups are mockups with a set background that can't be changed. Isolated mockups, on the other hand, give you the ability to fully customize the background.
Step 4: Download your mockup image
Once your mockup is complete, click the Download button in Smartmockups and choose from three different resolutions to export your print mockup.
As you can see, it now takes us a couple of clicks to go from a photograph to a hi-quality wall art mockup!
Give Smartmockups a go
The legends over at Smartmockups are offering all Riptide photographers a chance to try their all-in-one Smartmockups PRO plan for free.
What does it mean? You're going to get unrestricted access to all 6000+ mockups and their range of features for creating and jazzing up your mockups. Plus, you don't need to insert any of your credit card information and you can cancel anytime. No hard feelings.
Click here to try Smartmockups PRO for one month for free.
Note that you will be redirected to Smartmockups to confirm the offer. If you don't have your own Smartmockups account yet, make sure to sign up first and then redeem the offer to ensure the smoothest experience.
Have any questions about mockups? Feel free to contact us for any advice - we are always happy to help!